

Diagnostic Position
 |
 |
 |
 |
 |
 | ||||||||||||||||||||||||
 |
 |
 |
 |
 |
 | ||||||||||||||||||||||||
 |
 |
 |
 |
 |
 | ||||||||||||||||||||||||
 |
 |
 |
 |
 |
 | ||||||||||||||||||||||||
 |
 |
 |
 |
 |
 | ||||||||||||||||||||||||
 |
 |
 |
 |
 |
 | ||||||||||||||||||||||||
 |
 |
 |
 |
 |
 | ||||||||||||||||||||||||
 |
 |
 |
 |
 |
 | ||||||||||||||||||||||||
 |
 |
 |
 |
 |
 | ||||||||||||||||||||||||
 |
 |
 |
 |
 | |||||||||||||||||||||||||
Diagnostic Position
|
|
|
|
|
| ||||||||||||||||||||||||
|
|
|
|
|
| ||||||||||||||||||||||||
|
|
|
|
|
| ||||||||||||||||||||||||
|
|
|
|
|
| ||||||||||||||||||||||||
|
|
|
|
|
| ||||||||||||||||||||||||
|
|
|
|
|
| ||||||||||||||||||||||||
|
|
|
|
|
| ||||||||||||||||||||||||
|
|
|
|
|
| ||||||||||||||||||||||||
|
|
|
|
|
| ||||||||||||||||||||||||
|
|
|
|
| |||||||||||||||||||||||||
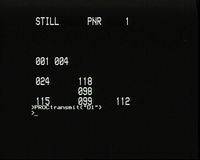
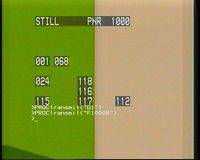
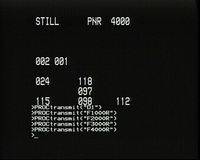
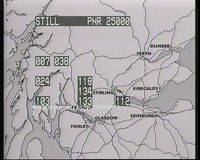
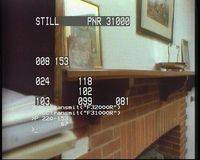
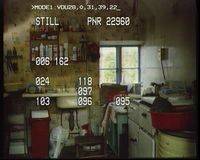
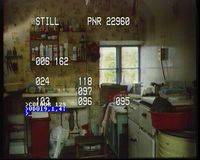
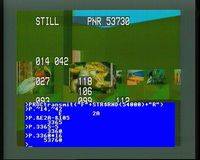
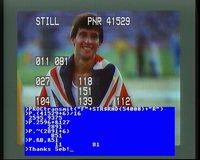
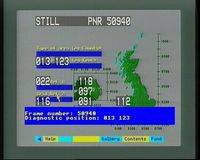
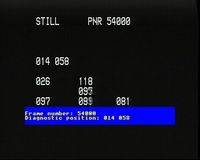
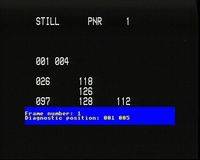
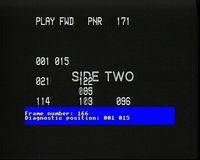
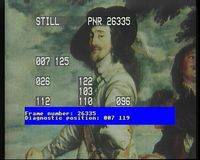
This is a picture set exploring the relationship between the positioning readings in diagnostic mode and the frame number. Please click on the picture links above to learn more.